LMS4000
Specifications
Details
Very fast 2D LiDAR sensor for precise and demanding measuring tasks
The LMS4000 2D LiDAR sensor is particularly well-suited for use in intralogistics, material handling and in all areas in which goods must be quickly and systematically analyzed and moved. With the LMS4000, SICK is offering the ideal solution for measuring objects regarding their position, shape, volume or surface quality and evaluating and processing them correspondingly. Regardless of the object position in containers, cartons or on pallets, or whether they are free-standing or touching one another, the sensor measures precisely with high sampling density and a wide dynamic range. A high throughput with comprehensive process reliability and low maintenance needs is the result.
LMS4000 AT A GLANCE
Benefits
-Precise measurement of quickly moving objects, large and small, independent of their shape, color or surface quality
-Very detailed object scanning with a high depth of field and a wide range of dynamics without external illumination or additional line lasers
-Need-based extension of the measuring range as several devices can be mounted next to one another without mutual interference
-Quick installation, high availability, simple maintenance
Features
-Precise measurement, even with very dark or glossy objects
-Fine angular resolution for high measurement point density
-High speed measurement with 600 Hz and fast data transmission with Gigabit Ethernet
-Synchronization of devices without mutual interference
-Industry-grade M12 connections
ADVANTAGES
 The all-rounder for a wide range of applications
The LMS4000 2D LiDAR sensor, when used as a standalone component in automated production, delivers precise data about the position and size of a wide variety of objects. The sensor passes this data on to an external control unit, often combined with an encoder. This results in many fields of application, such as volume and position detection of objects, pick and place or palletizing and depalletizing tasks, empty container detection, quality inspection of solar cells, engine blocks and aircraft parts, trains or tunnel walls and much more.
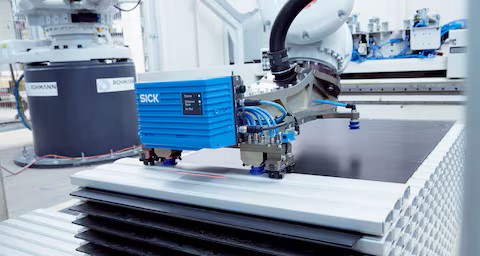
Palletization and depalletization processes
Thanks to its high measurement accuracy and wide dynamic range, even more complex palletizing and depalletizing tasks do not cause any problems for the LMS4000. It reliably detects the finest transitions between different components, even with immediate changes from very bright to very dark objects or strongly changing lighting situations.
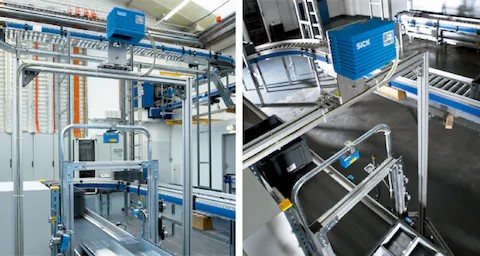
Empty container detection
During empty container detection, even cube-sized or very flat objects can be reliably detected. LiDAR technology prevents major shadowing effects at the crate edge and also offers full flexibility in terms of orientation and changing container sizes.
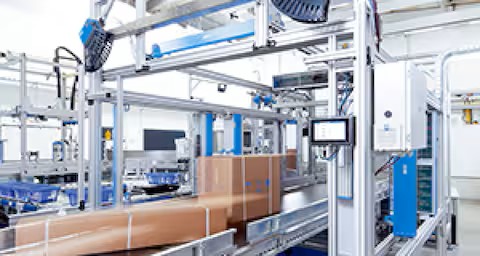
Volume measurement systems in logistics
Reliable object data forms the basis for exact calculation of freight costs. Thanks to the measurement accuracy, the VMS5x00 track and trace system delivers precise data in all dimensions thanks to a measurement accuracy up to 5 mm x 5 mm x 2 mm. The LMS4000 enables high material throughput in logistics centers and hubs with belt speeds of up to 4 m/s.
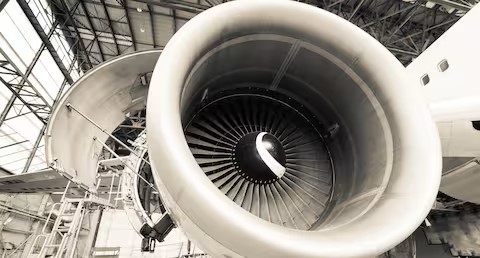
Measurement of vehicles in outdoor areas
The LMS4000 precisely measures even very large objects such as trains, aircraft parts, tunnels or freight containers, detecting damage, deformation or other material defects. It is also possible to synchronize several devices and/or to use the device variant with an enlarged working range.
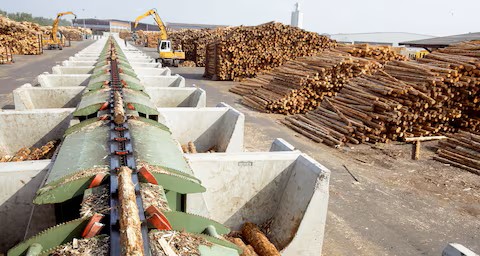
Measurement of objects in the timber industry
High-resolution 3D point clouds of objects can be generated from the measurement data of the LMS4000. Using these, the optimum gripping and intersection points for further processing can be determined, for example in the woodworking or food industry.
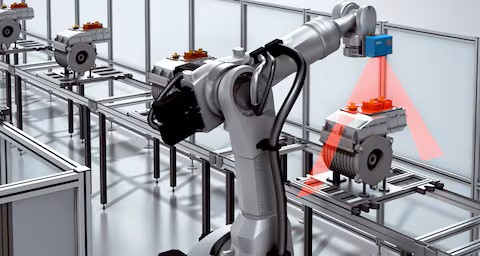
Quality control system in indoor areas
The LMS4000 is ideally suited for quality inspection of engine blocks, housings or other metallic and non-metallic objects. By comparing contours with a reference object, for example, it is possible to reliably determine whether all parts are correctly attached, that bore holes are correctly positioned and that there is no damage.
High precision, speed and point density make the LMS4000 a real all-rounder for volume measurement, quality control systems and palletizing tasks. Large or small, light or dark objects pose no problems for the LiDAR sensor.
 Object measurement - quick and precise
The LMS4000 measures objects quickly and precisely, independent of their shape, color or surface quality. The aperture angle of 70° results in a wide scanning area, which a continuous laser scans at 600 Hz using a rotating hexagonal mirror. Every scan generates 841 individual measuring points. The use of a red light laser within the visible spectrum makes precise alignment easier.
- Large working range
Objects with a height of 1 m can be measured consistently by the LMS4000 across a width of 2.6 m. For objects 2 m high, the measuring field width can be up to 1.4 m. In addition, the device variant with increased scanning range even enables the measurement of objects with a cross-section of 3 m x 3 m or even 4 m x 2 m.
-
Targeted control and reduction of data transmission
The laser scanner can be switched on and off via photoelectric sensors or software commands. This ensures data is only produced when objects are actually being measured. Internal filters allow for targeted reduction of data to the specific application and thus also relieve the overall system.
-
Precise and reliable measurement procedure
The continuous-wave method is based on the principle of phase correlation. The object reflects the continuously emitted laser beam onto the receiver of the laser scanner. The resultant phase delay between the emitted and received beam can be used to precisely determine the distance. At the same time, the measurement procedure is resistant to external influences, e.g. ambient light or temperature fluctuations.
-
Four data channels
In addition to distance data, the sensor can also transmit reflectance, angle correction and quality values as required. This makes it possible to visualize even slight differences in object color and texture, compensate for accelerations acting on the sensor, and identify critical measurement points. The output data format can be extended or reduced individually by each channel.
-
Extending the measuring range
Using multiple laser scanners prevents shadowing effects and allows larger measurement fields to be used. The system can synchronize the motors of the rotating mirrors to ensure the devices do not mutually interfere with one another.
Precise and reliable measurement procedure with large depth of field and measuring field width. Four data channels can be combined as required and data transmission with the laser control can be activated as needed.
 Digital filters for increased performance
Digital filters for pre-processing and optimizing the measured values further increase the performance of the LMS4000. This enables the laser scanner to be directly tailored to the relevant application. Faults are reliably prevented, and data quantities optimized for downstream processes.
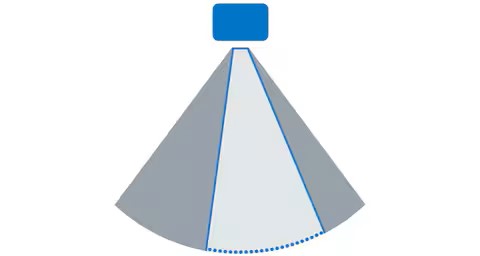
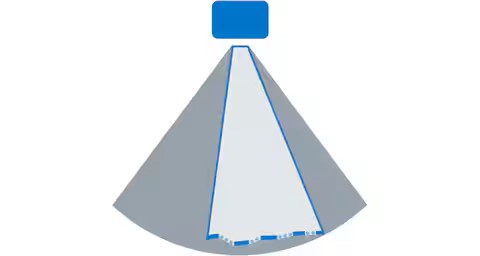
Scan range filter
Records data only within a specified angular range

Edge filter
Avoids erroneous or extreme distance values at edges
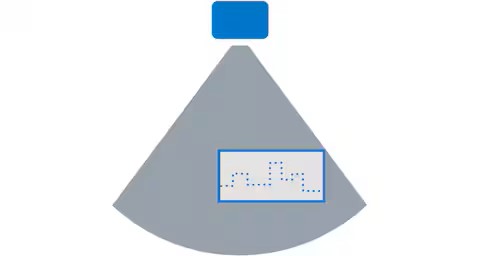
Rectangular filter
Allows valid data only within a specified, square area

Median filter
Smooths the measuring points with the help of neighboring points, and corrects output of measured values
Gloss compensation
Makes object areas visible that would otherwise be output as invalid due to the received signal being too high

Average filter
Calculates an arithmetically averaged measurement value using a pre-defined number of scans, the data output is reduced by the factor of the averaging depth
Targeted preprocessing of data thanks to a wide range of filter options reduces effort in downstream process steps.
View more about LMS4000 on main site

